
A designer has a rough grid puzzle and a friend willing to try it, but no plan for what to learn. Knowing how to test a puzzle game prototype starts with deciding what question each session must answer.
Quick answer: test the cheapest version that can show your core mechanic. Watch a player attempt it without help, record what confused or engaged them, change one thing, then retest. Stop when exit criteria you wrote before testing are met, and only then build a vertical slice.
This guide treats prototype testing as a repeatable loop with an end point. It belongs to the wider topic of indie puzzle game development, and the sections below climb from the simplest test to the point where prototyping should stop.
Start with the cheapest prototype
A prototype exists to test and validate specific mechanics, ideas or concepts, according to Sanlo’s guide to vertical slices. The same guide describes it as low-fidelity, possibly without detailed graphics, sound or comprehensive functionality. For a puzzle game, that means the lowest-cost version that can still show whether the central rule is interesting.
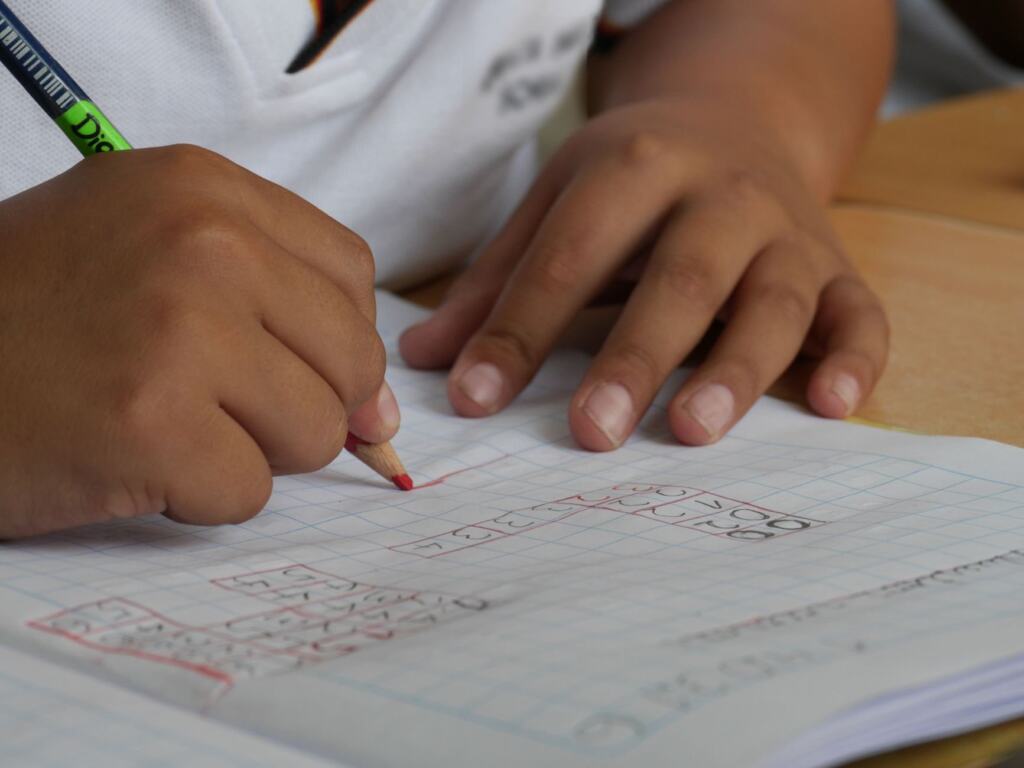
Paper is the usual starting point for grid, tile or token puzzles. If a rule cannot be explained and played with drawn squares and a few markers, a coded version will not rescue it.
- Write the core rule in a sentence. If it needs a paragraph, the rule is probably two mechanics and should be split before testing.
- Draw a small grid and make tokens. Use scraps of paper or cardboard, and make a few puzzles with different difficulty so you can see where players struggle.
- Decide the question for this session. Examples are whether players understand the rule unaided, or whether a solution feels earned.
- Play it yourself, then hand it over. Your own run exposes impossible puzzles before a tester wastes time on them.
Run a session with real players
Player reactions give immediate opinions on what captivates or frustrates, as the Sanlo guide puts it. Prototype testing exists to support rapid evaluations that refine core gameplay mechanics, so keep each session short and focused on one question.
Before the player sits down
- Choose people who have not seen the game. A friend who has heard you explain the rule cannot show you whether the rule explains itself.
- Prepare a note sheet. List the question for this round and leave space for observations, so you are not improvising while watching.
- Agree what you will not say. Decide in advance that you will not hint, because every hint hides a design problem.
During the session
- Give the player the prototype with no explanation beyond what a new player would get.
- Stay quiet and watch where hands hesitate, where they undo moves and where they stop.
- Note both frustration and delight, since the aim is to learn what captivates as well as what annoys.
- Only after the attempt, ask short follow-up questions about what they thought the rule was.
A fuller bank of wording and observation prompts is in what to ask puzzle game playtesters. Keep that list separate from the loop described here, which is about deciding what to do with the answers.
Close the loop: note, change, retest
A single session produces anecdotes. The loop turns them into decisions by forcing a change and a recheck.
- Group the notes. Cluster observations by the part of the puzzle they concern, such as rule comprehension, difficulty or feedback on moves.
- Pick the finding that blocks the core experience. A confusing rule outranks a cosmetic complaint.
- Change one thing. Altering several variables at once makes it impossible to tell which change helped.
- Retest with fresh players when the change affects comprehension. Someone who already learned the old rule cannot judge the new one.
- Record the result next to the original note. A visible history shows whether a problem is actually fixed or merely moved.
Findings about difficulty curves belong to a different question than rule comprehension. When notes point at ordering and ramp rather than the mechanic itself, how to pace levels in a puzzle game covers that next step.
Move to a playable greybox build
Escalate from paper only when paper has answered what it can. A rule that depends on animation, timing, physics or large boards will need software before it can be judged.
Keep the digital version as rough as the paper one. Placeholder shapes, default colours and no audio are consistent with the low-fidelity prototype described by Sanlo, and they stop testers from reacting to polish rather than to the puzzle. Time spent on art at this stage is time not spent on the question the build exists to answer.
The same loop applies. Each build answers a stated question, each test session produces notes, and each change is small enough to attribute. If a build takes long enough to make before each session that the questions blur, the prototype has grown beyond its purpose.
A puzzle prototype checklist
Use this list before any session to confirm the prototype is ready to teach you something.
- Core mechanic identified. Sanlo advises identifying the core features and mechanics essential to the game’s experience, and a prototype should include only those.
- One question per session. Write it at the top of your note sheet.
- Puzzles solvable and varied. Check every test puzzle has a valid answer and that difficulty differs between them.
- Clear observation method. Decide what you will record and how, so notes from different rounds can be compared.
- Short design document. A plan or game design document outlining scope, assets and timeline is recommended by the same guide for vertical slices, and a lighter version helps keep a prototype from sprawling.
- Exit criteria written down. State what results would mean the mechanic is proven, before you see any results.
How long to prototype and when to stop
No supported figure fixes how long a puzzle prototype should take, so set the limit by outcomes and budget rather than a copied schedule. A vertical slice requires significant time, money and skilled personnel, which is the reason to confirm the mechanic cheaply first. Prototype time is best spent in short loops, with a cap you set up front that matches the resources you actually have.
Exit criteria to define before testing
Stopping is a decision about evidence, so phrase the criteria as observable behaviour. Examples that suit a puzzle game:
- The rule is understood unaided. New players can explain what they were doing without your help.
- The core mechanic holds up. Recent rounds are producing refinements rather than fundamental problems.
- Players engage rather than endure. Observed moments of interest outnumber moments of giving up.
- Remaining questions are about integration, not the idea. That is a sign the work has moved beyond a prototype.
Continue prototyping while the mechanic itself is in doubt. Stop when it is established, because Sanlo places the vertical slice after prototyping, once core mechanics and concepts are established. Continuing past that point tends to turn the prototype into unplanned production work.
Vertical slice versus prototype
A vertical slice is a fully functional, small section of a game that demonstrates a representative sample. Build one after the prototype has settled the mechanic, when you want to show what the finished game will feel like or to uncover risks before full-scale production. Integrating all game elements can also expose complex technical issues that a prototype never touches.
| Attribute | Prototype | Vertical slice | Planning use |
|---|---|---|---|
| Fidelity | Low; may lack detailed graphics, sound and comprehensive functionality | High; nearly indistinguishable from the final game in quality and presentation | Do not polish a build that is still answering mechanic questions. |
| Purpose | Testing and validating specific mechanics, ideas or concepts | Showing a representative sample and reducing risk before production | Prototype to decide whether the idea works; slice to prove the game can be built. |
| Audience | Internal use by the development team | Stakeholders, investors, publishers and players | Run early sessions yourself; show the slice outside the team. |
| Timing | Early, before the core mechanics are settled | After prototyping, once core mechanics are established | Move to the slice only when your exit criteria are met. |
| Cost | Cheap to change | Significant time, money and skilled personnel | Confirm the mechanic first so the slice is not rebuilt. |
These distinctions follow Sanlo’s comparison of prototypes and vertical slices.
Building the slice involves polishing visuals, audio and the user interface to reflect the final game’s quality, then testing to find and fix bugs and gathering tester feedback. The loop does not disappear. It continues at higher fidelity, with a wider audience and a different question: whether the finished experience holds up.
Frequently asked questions
Does a puzzle prototype need graphics and sound?
No. A prototype is low-fidelity and may lack detailed graphics, sound and comprehensive functionality. Add presentation only when it is needed to test the question in front of you.
Should I write a design document before prototyping?
A lightweight one helps. Sanlo recommends a detailed plan and design document outlining scope, assets and timeline for a vertical slice. For a prototype, a short version listing the core mechanic and your exit criteria is enough to keep testing focused.
Who should see a prototype?
Prototypes are for internal use by the development team, so run sessions yourself with a small number of fresh players. The broader audience of stakeholders, investors, publishers and players suits the vertical slice.
What is the main risk of building a vertical slice too early?
It consumes significant time, money and skilled personnel. If the core mechanic is not yet established, that investment may be spent on something the prototype loop would have changed.
Is a vertical slice just a more polished prototype?
Not exactly. A vertical slice is a fully functional small section of the game at near-final quality, aimed at a wider audience, while a prototype tests a specific mechanic or idea at low fidelity.